






How to Clean Sneakers at Home Without Ruining Them
Introduction
Most sneakers don't get ruined by dirt — they get ruined by the cleaning attempt itself. Scrubbing too hard, soaking suede in water, or leaving a pair to dry in direct sunlight can do more damage in ten minutes than months of regular wear. The good news: cleaning sneakers at home safely is simple once you know the right order of steps and the right amount of pressure to use.
This guide walks you through exactly how to clean sneakers at home, whatever they're made of, using tools you likely already have plus one or two things worth keeping by the door for next time.
What you'll need
You don't need a bucket, detergent, or half an hour at the sink. A basic sneaker-cleaning setup covers most of what walks through your door:
- A soft or medium-bristle brush
- A shoe-safe foam cleaner (skip harsh detergents and bleach — more on why below)
- A microfiber cloth or old soft towel
- A dry cloth or soft-bristle toothbrush for laces and welts
- Newspaper or old cloth, for stuffing shoes while they dry
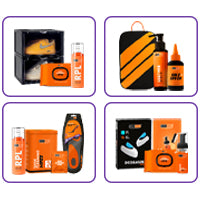
If you'd rather not assemble this from three different cabinets, that's exactly what a pre-mixed sneaker cleaning kit is for — more on that further down.
Step-by-step: how to clean sneakers at home
- Remove the laces and insoles. Set them aside to clean separately — laces can usually be hand-washed with mild soap, and insoles just need a wipe-down and air-dry.
- Dry-brush first. Before any liquid touches the shoe, brush off loose dust, dry mud, and debris. Cleaning over dry dirt just grinds it deeper into the material.
- Apply foam cleaner, not a soaked cloth. A small amount of foam goes further than a wet rag and won't oversaturate the material — this matters most for suede and canvas, which absorb water quickly and can water-stain or warp.
- Scrub gently, in small circles. Let the brush and foam do the work rather than pressing hard. Focus on visibly dirty areas first, then go over the rest of the shoe for an even clean.
- Wipe away the foam with a damp microfiber cloth. Don't rinse the shoe under a tap — wipe until the cloth comes away clean.
- Clean the soles separately. Soles can handle more scrubbing than the upper, so this is where a firmer brush and a little extra effort are safe to use.
- Air-dry away from direct heat or sunlight. Stuff the shoes loosely with newspaper to help them hold their shape and absorb moisture faster, and let them dry at room temperature. Direct sun or a heater can crack leather and yellow soles.
A quick tip for each material
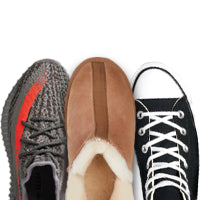
- Leather: Wipe with a barely damp cloth first, then use foam only on visible marks. Condition occasionally to stop the leather from drying out and cracking.
- Canvas and mesh: These handle foam well and dry fast, but avoid soaking them — a fully wet canvas shoe can take over a day to dry and may develop a musty smell if it doesn't dry through.
- Suede and nubuck: Skip water and foam almost entirely here; a dry suede brush handles most dirt. If you do need foam, use the smallest amount possible and test on a small area first.
Common mistakes that ruin sneakers
- Using hot water or harsh detergent. Both strip color and can break down glue bonds over time, especially on the midsole.
- Scrubbing suede when it's wet. Wet suede bruises and stains easily — always let it dry fully, then brush.
- Drying shoes in direct sun or near a heater. This is the single biggest cause of yellowed soles and cracked leather.
- Machine-washing sneakers with glued (not stitched) soles. The tumbling and heat can separate the sole from the upper.
- Ignoring the laces and insoles. They hold as much dirt and odor as the shoe itself, and skipping them undoes a lot of the cleaning effort.
Make it a 5-minute routine, not a chore
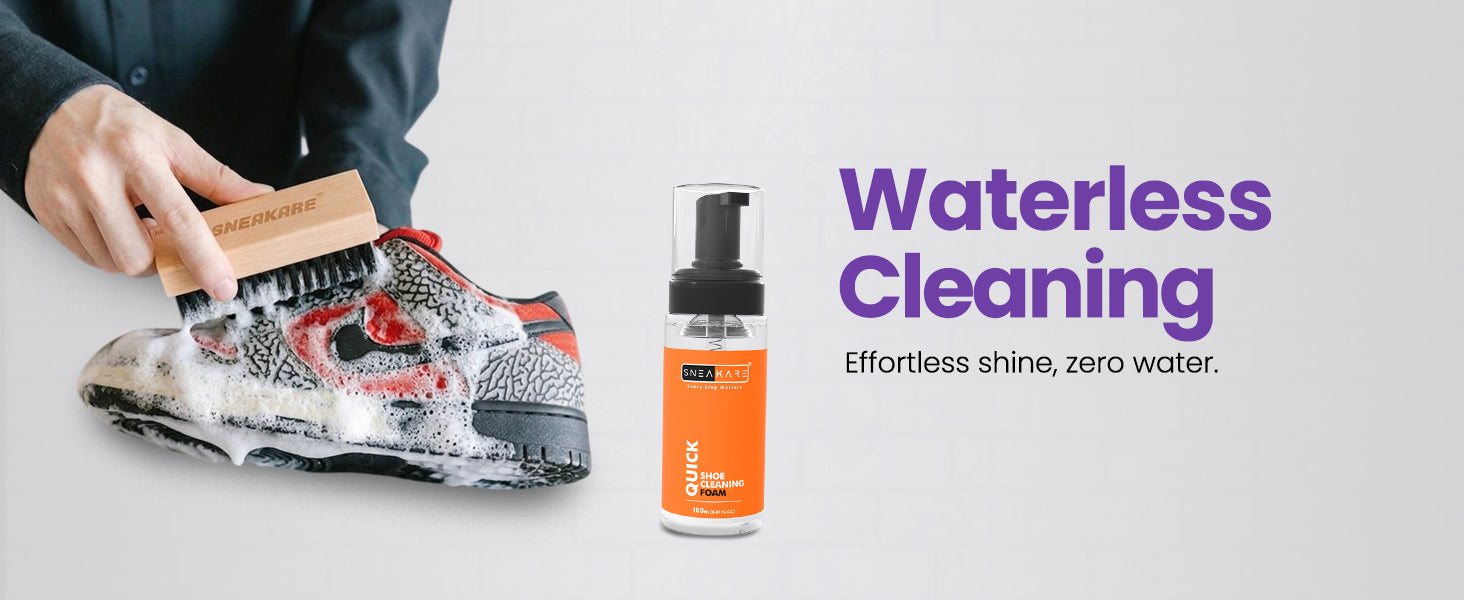
The steps above work with whatever you have at home, but most of the guesswork disappears with the right kit on hand. The Sneakare Quick Shoe Cleaning Kit — Medium Brush is built around exactly this process: a pre-mixed 150ml foam cleaner paired with a medium-bristle brush, so there's no water, no bowl, and no diluting anything before you start.
A few reasons it fits the routine above specifically:
- No dilution, no mess. The foam is ready to use straight out of the pump, which is most of what makes a 10-minute clean actually take 10 minutes.
- Safe across materials. It works on leather, canvas, mesh, suede, and nubuck, so you're not switching products between pairs.
- Gentle by design. The medium bristle brush is firm enough to lift dirt but won't strip color or texture from delicate materials when you follow the light-pressure technique above.
- Dries in 3–4 hours, not overnight, so a quick clean the night before still means dry shoes by morning.
- Compact enough to travel with, so the same routine works away from home.
At ₹299 (or less on the multi-pack), it's a fraction of the cost of even one professional clean, and set up for exactly the sneakers-at-home routine this guide walks through.
Frequently asked questions
How often should I clean my sneakers at home? A quick wipe-down every 1–2 wears keeps dirt from setting in, with a fuller clean (the full routine above) every 2–3 weeks for regularly worn pairs.
Can I clean sneakers without taking out the laces? You can, but you'll miss the dirt that collects at the eyelets and tongue. Removing laces takes 30 seconds and gives a noticeably more even clean.
Is it safe to clean sneakers with a toothbrush? Yes, for laces, welts, and small detail areas. For the main upper, a dedicated medium-bristle brush is gentler and covers more surface area evenly.
How long should sneakers take to dry after cleaning? Most foam-cleaned sneakers dry within 3–4 hours at room temperature. If they're still damp after 6–8 hours, they were likely oversaturated during cleaning — use less liquid next time.
Can I use the same cleaning method on all my sneakers? The core steps (dry-brush, foam, gentle scrub, air-dry) work across materials, but suede needs a lighter touch and less liquid than canvas or leather.
The takeaway
Cleaning sneakers at home isn't about scrubbing harder — it's about using less water, less pressure, and the right order of steps. Once the routine is set, it takes less time than it took to read this guide. Keep a Quick Shoe Cleaning Kit by the door, and it becomes a 5-minute habit instead of a Sunday project.